Looking for the latest stories? Subscribe and download the latest editions.
Jan 2023 | Locals, Photos, Stories
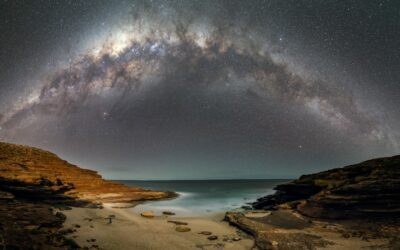
Photo credit: Richard Burgess